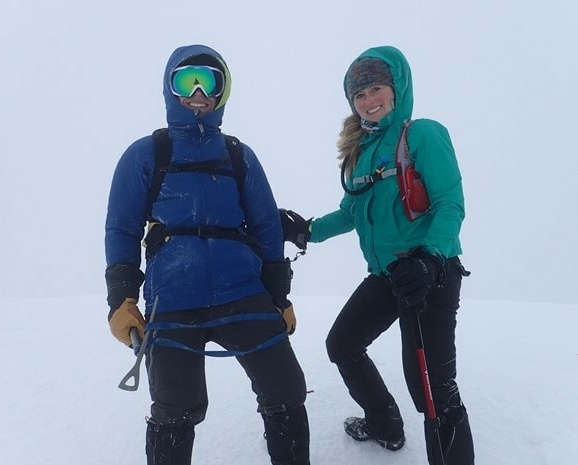
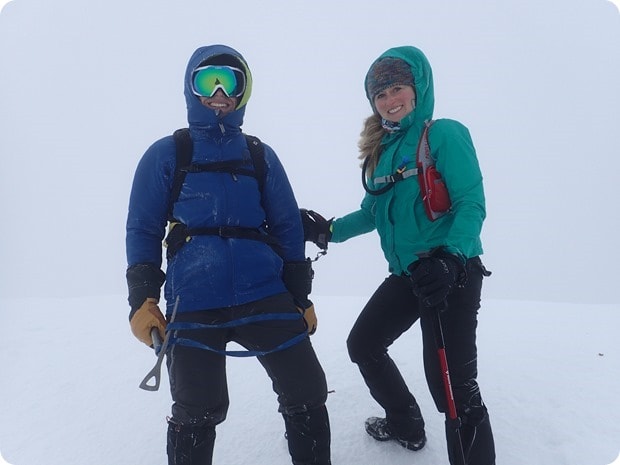
Hey friends! I thought it would be fun to mix it up today and share a guest post from my brother Steve! 🙂 As you may recall, he lives in Tacoma, WA, and has gotten quite into mountaineering in the past couple years since living out west. He has already summited Mt. Rainier, Mt. Adams, and, you guys will remember, Mt. St. Helens (<– hike recap) back in October with me and Matt! 🙂 Here we are at the top of Mt. St. Helens – cold and windy but so proud to have made it up there! Hardest hike of my life!
This past weekend, my brother just added another mountain summit to his list of accomplishments – Mt. Hood! Mt. Baker and Glacier Peak are still on his list so he can say he has summited all the 10,000 ft+ mountains in Washington State. So hardcore, right?!
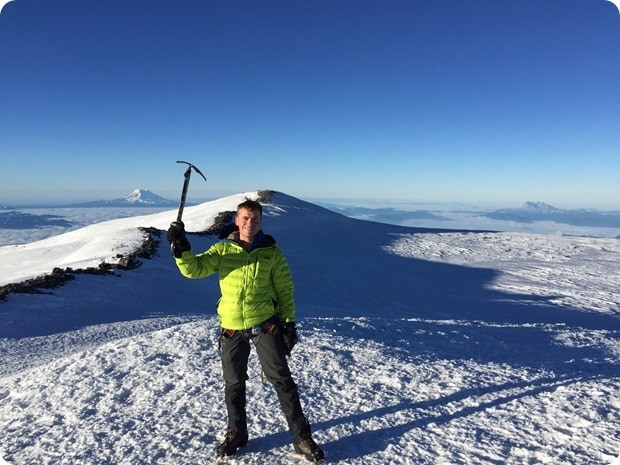
Anyway – he emailed our family a recap of the winter ascent of Mt. Hood with photos and it was so cool that I thought it would be fun to share it here with you guys. So, here you go – my brother’s recap of a winter ascent of Mt. Hood! Enjoy. 🙂 And if you’re interested and enjoy this post, let me know and I’ll ask him if I can share his Mt. Rainier (pictured below – wish we’d had that weather on Mt. St. Helens!) and Mt. Adams recaps, too!
Summiting Mt. Hood in Winter
a guest post by Anne’s brother Steve!
I’d been wanting to do a winter climb since the climbing season ended this fall (which was basically when we did St. Helens because there was already a lot of snow). Winter climbs introduce a lot of different factors, though, so you have to be a bit more careful with it. There’s a big avalanche risk when there’s fresh snow, and winter weather can change far more unpredictably and be a lot more severe in general. So, I started looking at winter climbs, and Mt. Hood seemed to be one with the most information on it for winter climbing.
We were originally planning to do this climb a week later, but the weather ended up being so good that we couldn’t miss out. No snow fell the past week, so avalanche risk was really low, and there was a huge warming trend the whole week, which meant the temperature ended up being 28 or so at the summit with no wind at all. About as perfect as you can ask for!
To prepare, we rented some equipment. We all got snowshoes in the event there were no boot tracks already made, as post-holing into the snow over and over is exhausting if someone hasn’t broken a trail. We also got avalanche shovels, which are light aluminum shovels, in the event we had to dig someone out after an avalanche, despite the low risk. There were no beacons available for rent so we eschewed those given the low risk.
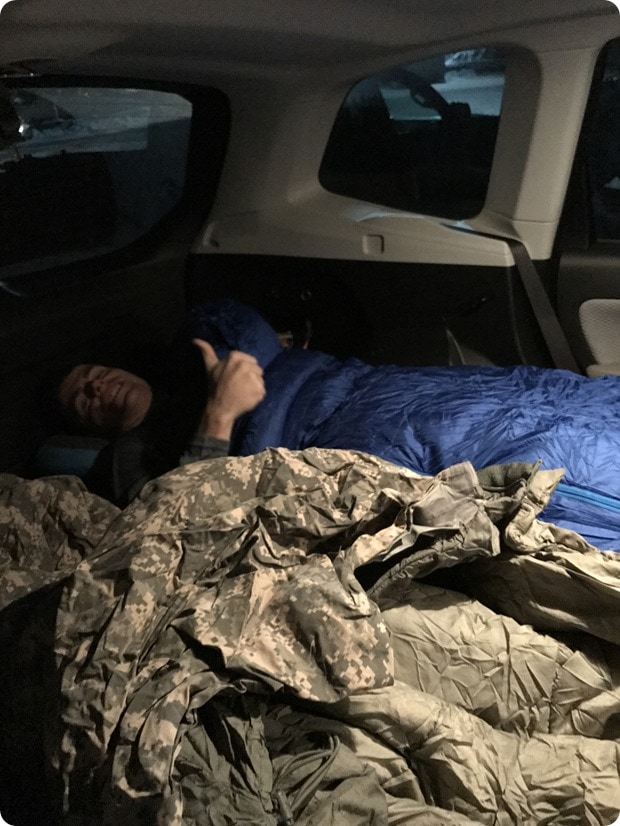
Me and my buddy drove down to Portland Friday afternoon to rent gear, and then arrived at the mountain (Timberline Lodge, a ski lodge and parking area on Hood) at about 9pm where we met up with 3 other friends joining us for the hike. We all slept in our cars until about 2am, when we woke up for a 3am departure. This is a photo of our sleep setup in the back of my Subaru:
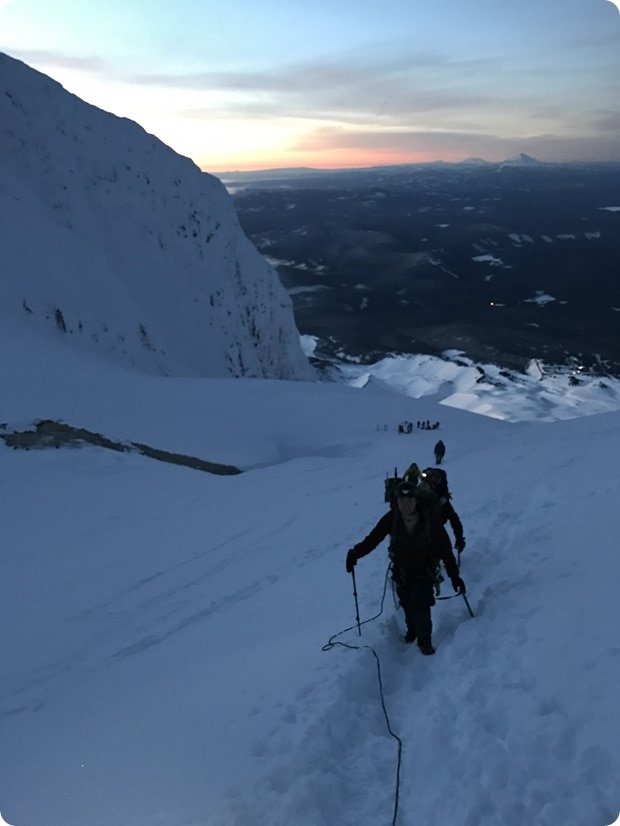
From there, we filled out the climbing permit and started walking. I didn’t realize it was a popular route, but we could count about a dozen lights on the mountain ahead of us, and lots of folks behind us as we started walking. We kept the snowshoes strapped to our packs as there was a well-laid boot trail to follow (despite the snow getting almost knee deep in some of the boot holes going up hills). Packs were fairly heavy, as we had a lot of safety equipment and extra clothes. I had a first-aid kit, a SAM splint, a 30 meter rescue rope, an avalanche shovel, wet weather clothes, a jetboil stove (to make more water from snow in an emergency), a down jacket, crampons, an ice axe, goggles, a climbing helmet, a mountaineering harness, and carabiners/nylon slings. We were also all wearing gaiters, shell coats/pants, and using trekking poles with snow baskets.
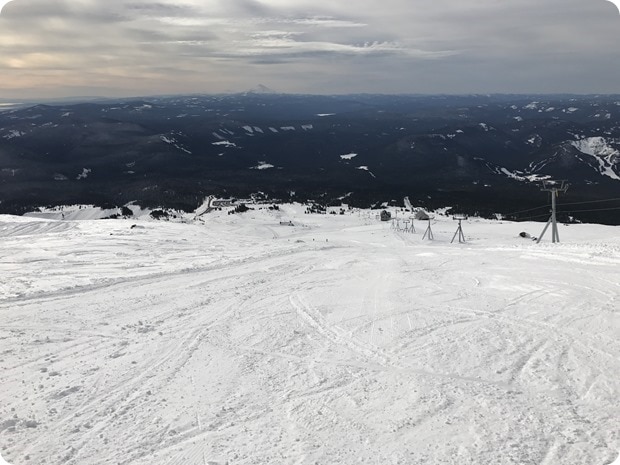
The route follows a functioning ski lift for the first section, and a non-functional ski lift for the second section. You can see the route in this photo, including the two ski lifts, and the parking lot where we started in the top left.
We also dumped our snow-shoes next to the defunct lift station as we knew we wouldn’t need them with the excellent boot trail.
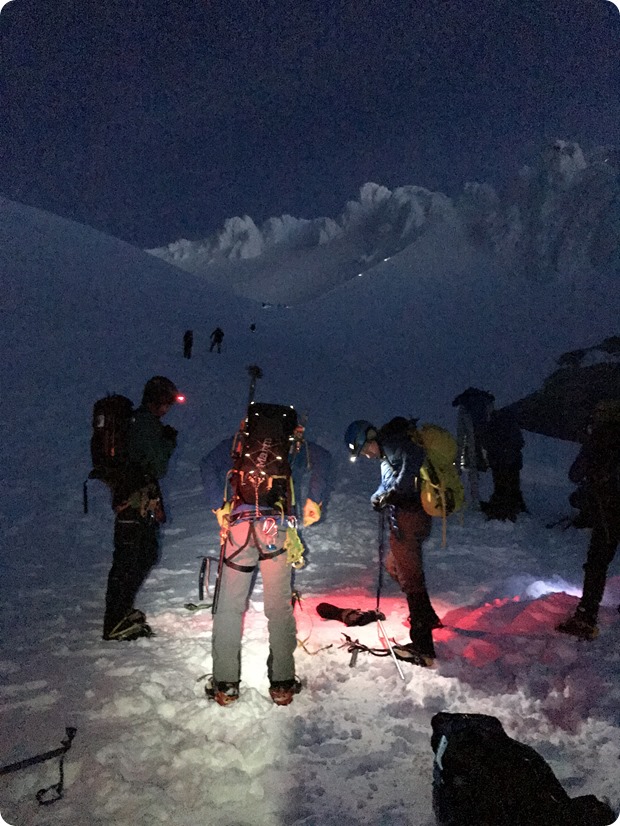
About 1,000′ above the final lift station, we stopped to put on our crampons and also our mountaineering harnesses. We originally planned to tie everyone together on a rope (45 meters long) but decided against it based on a conversation with a more experienced mountaineer. The rope would be helpful going along a longer and flatter route called Old Chute, but we were taking the Pearly Gates, which is a very steep and narrow route, in which the rope would be more likely to pull everyone down rather than help. So, we left the rope but put on our harnesses and helmets regardless to assist in rescue if someone fell.
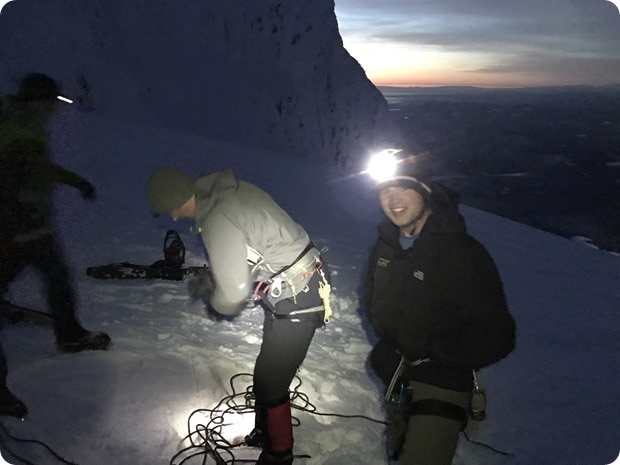
You can see the sun rising behind my buddies in the photo below as we get ready to head out after putting on crampons!
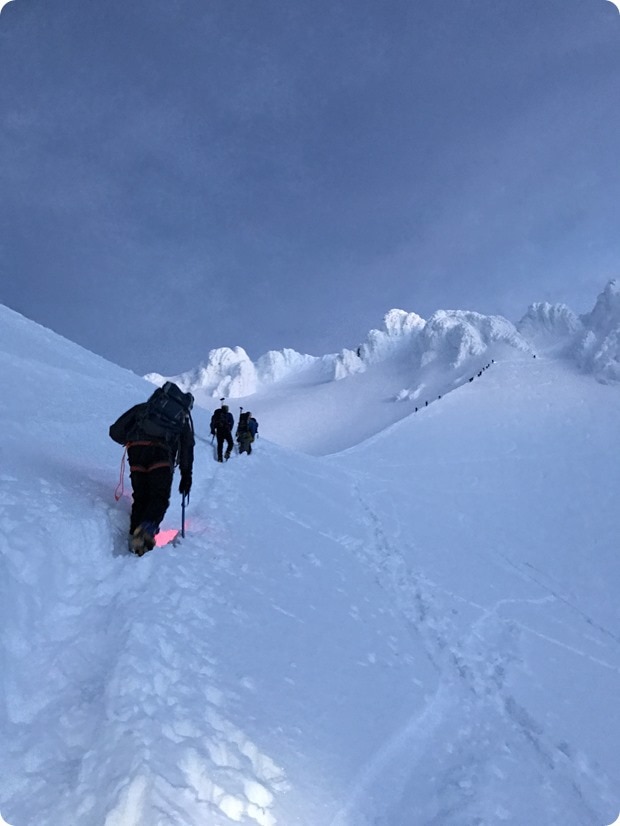
At this point, we go up a steep section towards the Pearly Gates, which you can see in the top right of this photo:
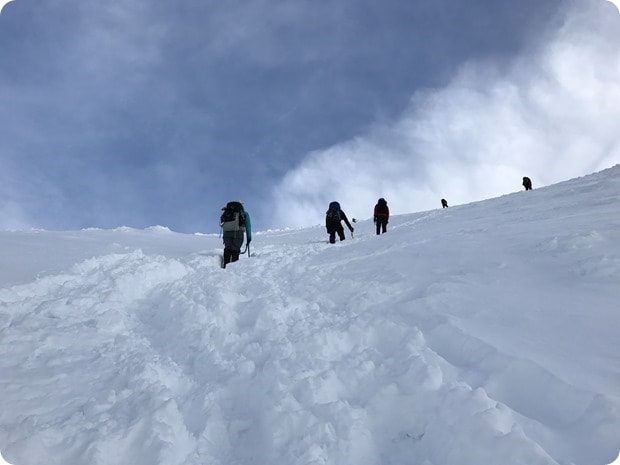
This climb is steep but pretty easy as the route is very well laid by people walking up. It goes to a lateral section that leads to another sharp ascent up to the Pearly Gates.
The sun was coming up at this point, as you can see in these photos!
Panorama shot:
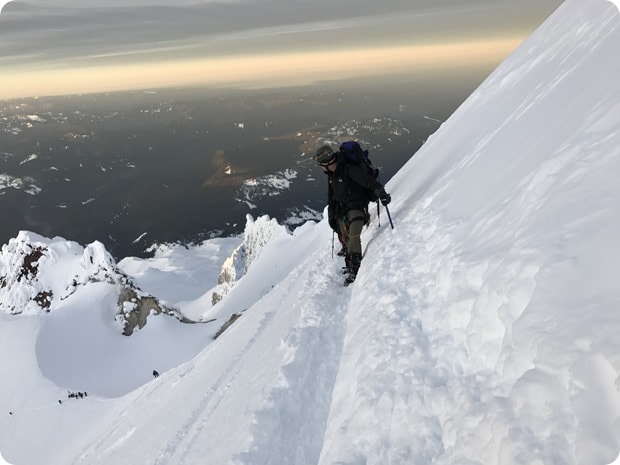
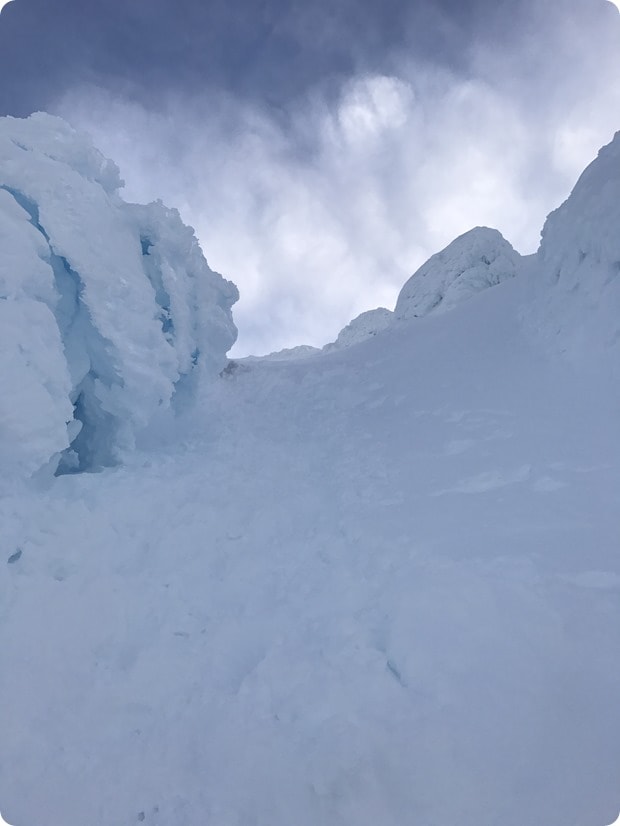
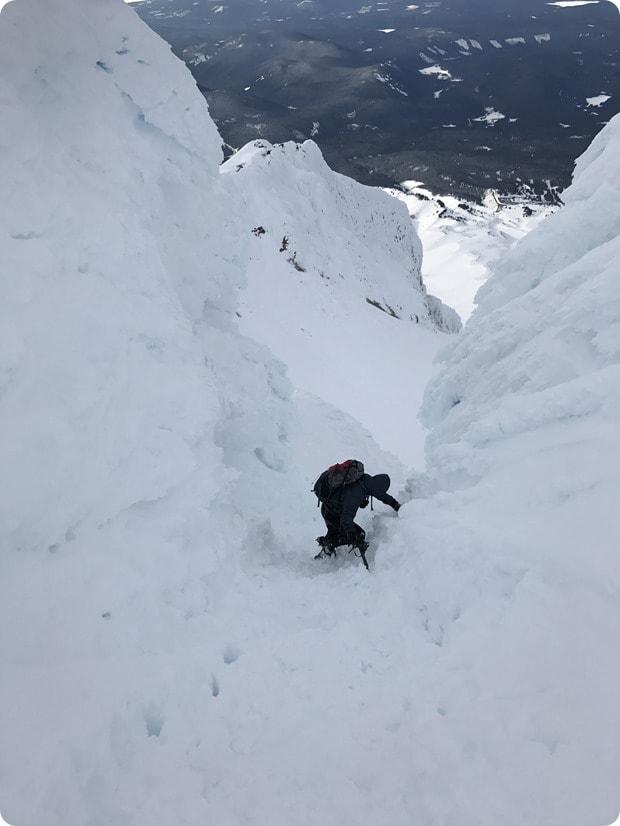
This led to the actual Pearly Gates themselves, which were very steep and required very thoughtful steps and utilization of the ice axe. Regardless, though, I was never worried about falling back as the crampons kept me securely locked in. This is me looking down at my buddy, right behind me; the others were further back as we spaced out in case someone fell.
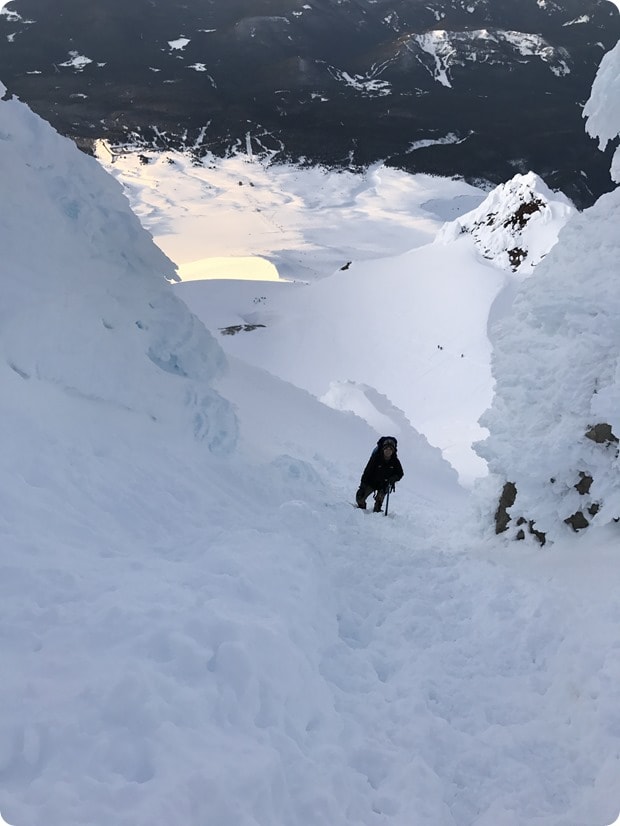
This is looking up the Pearly Gates as I climbed.
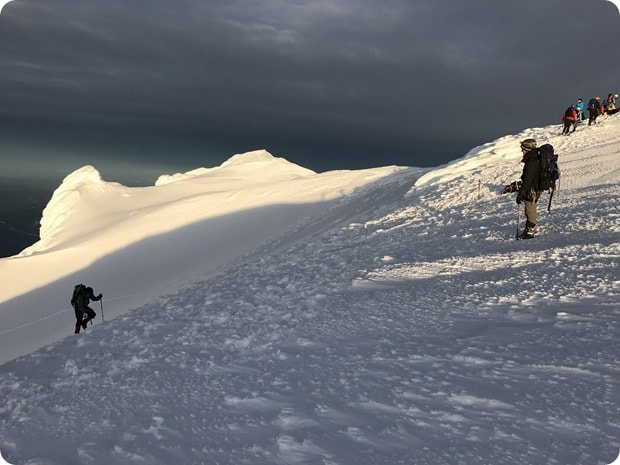
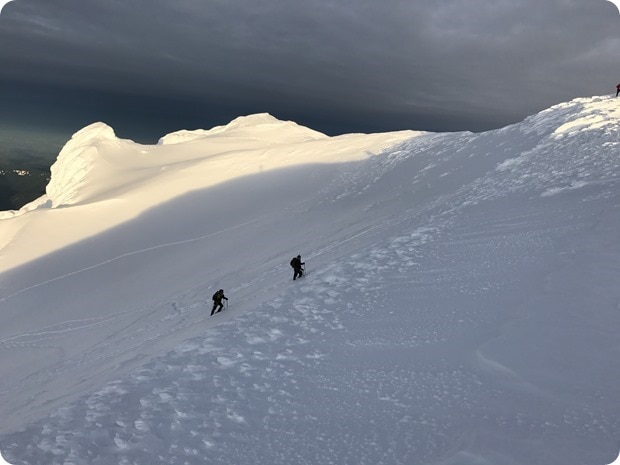
This leads to the final ascent up to the peak, which is along a crest:
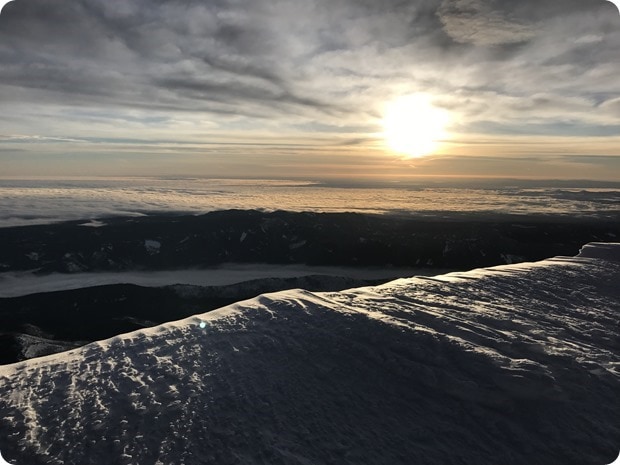
It was an easy climb from there, and I was up on top! This is a photo of the sun rising from the top:
Another panorama shot:
Watching friends make their way up the final leg:
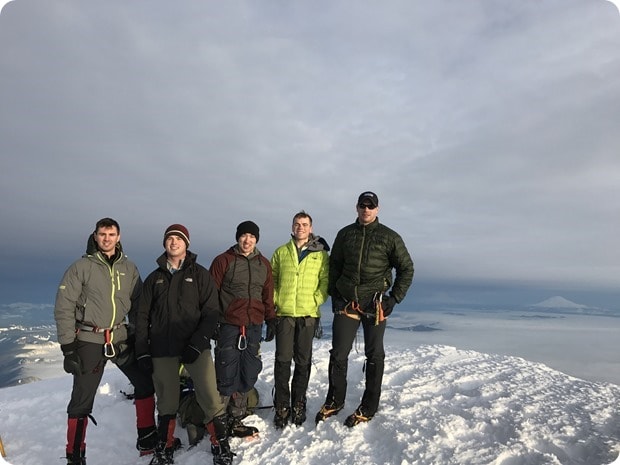
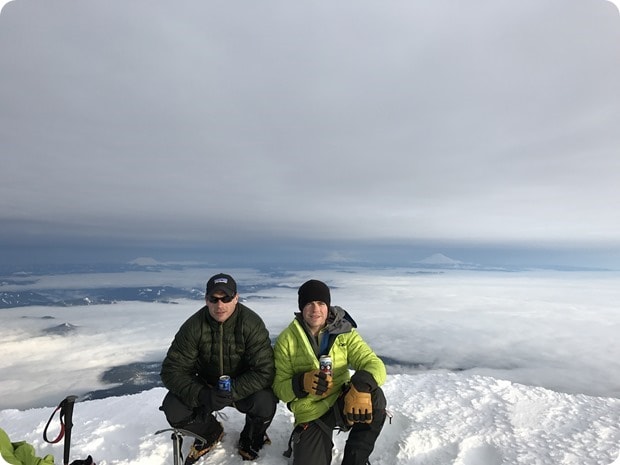
Here’s a group photo at the top – Mt. Adams is in the distance, Rainier is behind us and St. Helens is off to the left:
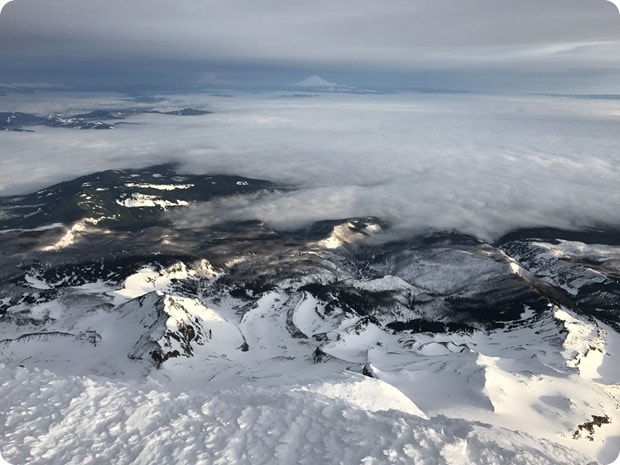
The view at the top was just spectacular. It was fairly clear, so we could see Mt. Jefferson, the coastal ranges, Three Sisters, Mt. Adams, Mt. Rainier, and Mt. St. Helens. Perfect day to do it!
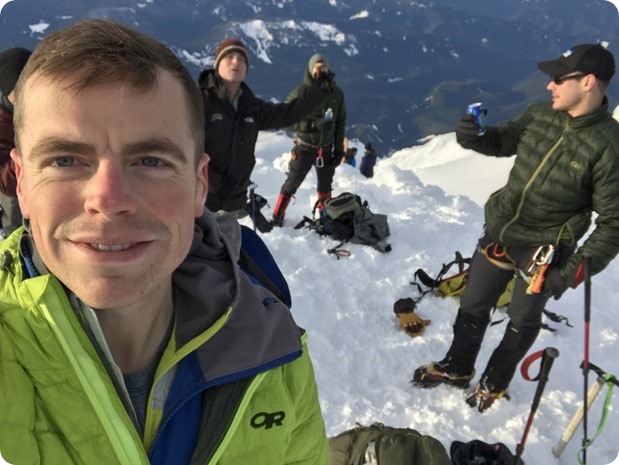
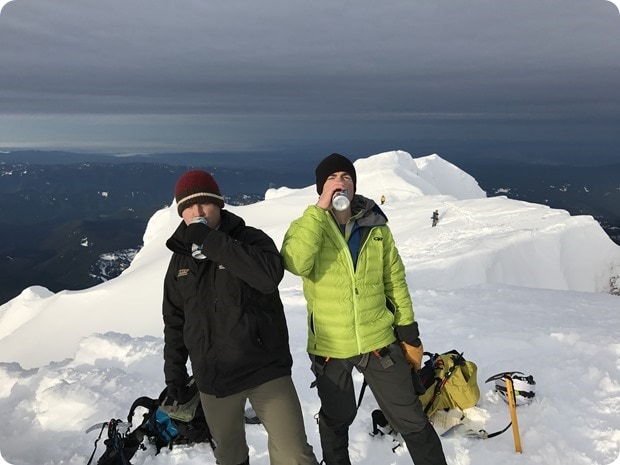
And the weather was warm enough that we were able to hang out for about 30 minutes on top before we headed out, enjoying the view and a beer, which each of us hiked up (our tradition – we did this with Anne and Matt on Mt. St. Helens, too).
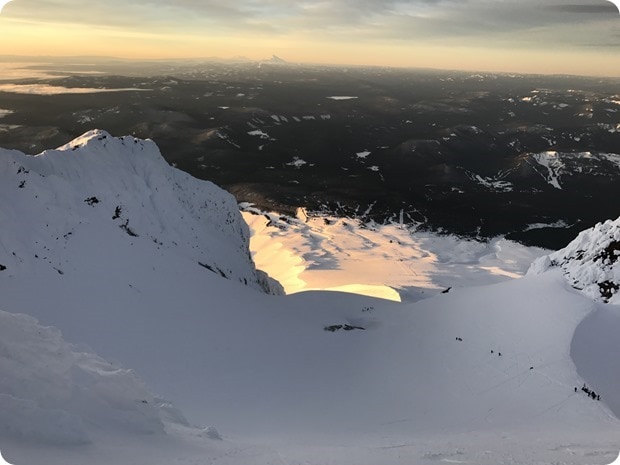
Here is a view from the crest looking down on the north face – a much tougher way to climb up top:
From there, we went back down through the other side of the Pearly Gates (for traffic control – one side was mostly ascenders, the other descenders):
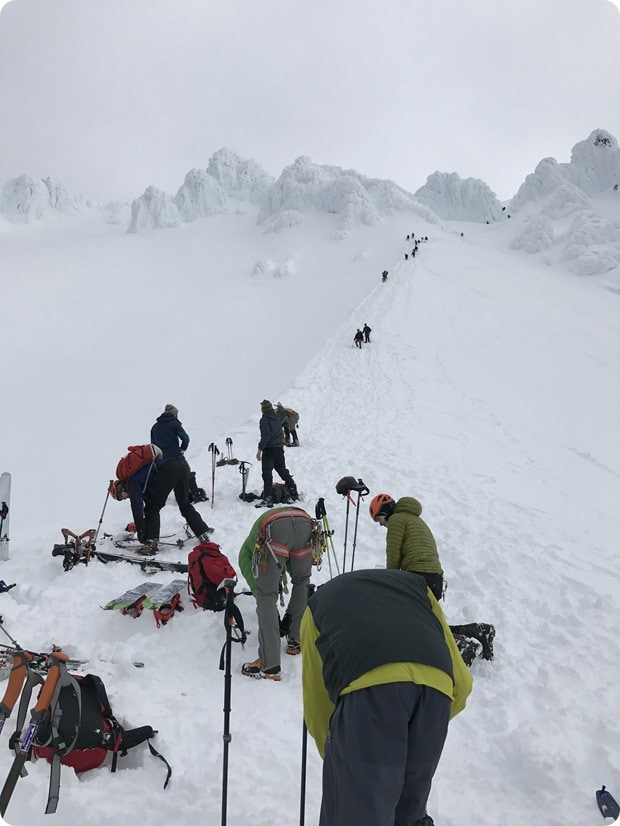
Here is another look at the Pearly Gates and the route to the top from the bowl below. You can also see lots of skiers prepping their equipment to ski back down. Would have saved us about 2 hours and been much more fun than walking down! We were all very jealous at this point. Tons of people used skis with skins on the bottom to ascend nearly the entire mountain – seemed like a fun way to do the climb and minimize the painful descent!
From there, we were back down at the car by about 11:30, and then headed out to go eat Mexican food near Portland. Our total round trip distance was about 7.6 miles, and the elevation gain was 5,290′. Mt. Hood is at 11,250′ and Timberline Lodge (where we started) is at 5,960!
Wonderful way to spend a Friday night and Saturday morning, and a perfect intro to winter climbing! In a lot of ways, it’s more fun than summer climbing. You never overheat, snow is a lot more forgiving to walk on than rock for the way down, and there are no bugs. May tackle a winter Mt. Adams ascent next – we’ll see! Hope you enjoyed the recap.
– Steve


