Thank you to Ricola® Herb & Throat drops for sponsoring this post as part of an ongoing campaign with Socialstars. #swissherbs
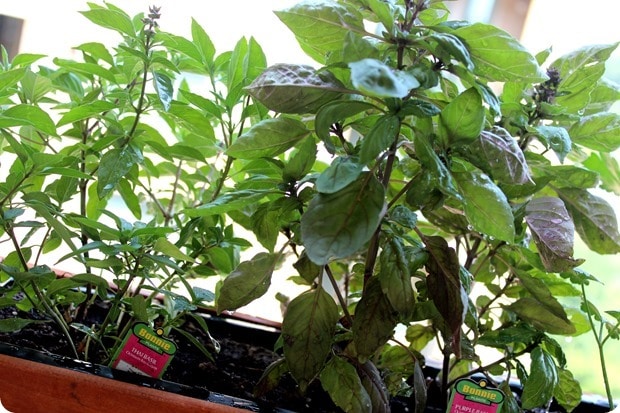
A few weeks ago, now that the warm weather has been here to stay for awhile, Matt and I decided it was time to re-start our home herb garden. Over the past couple years, we have had success growing basil, parsley, and dill in particular, and for awhile last summer in particular we had quite a thriving little herb box.
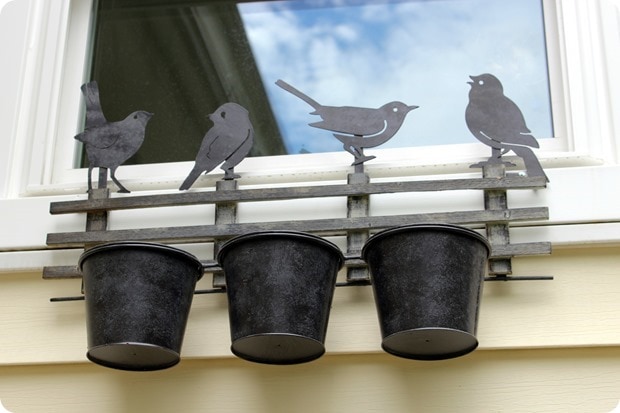
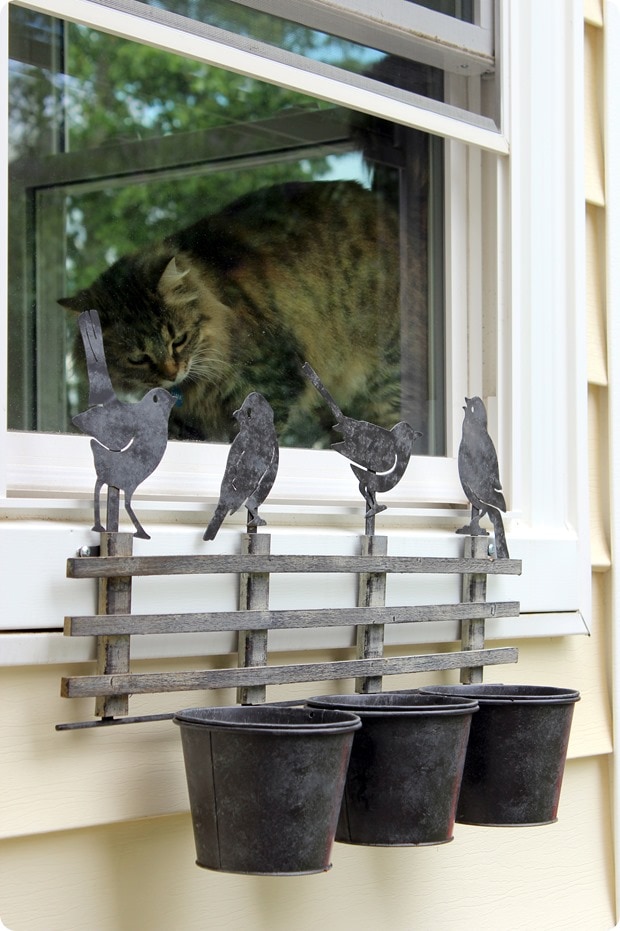
Matt and I have been talking all spring about re-starting our herb garden, so when Matt’s mom recently gave us this super cute window herb/plant box, we decided it was time to get back into the game!
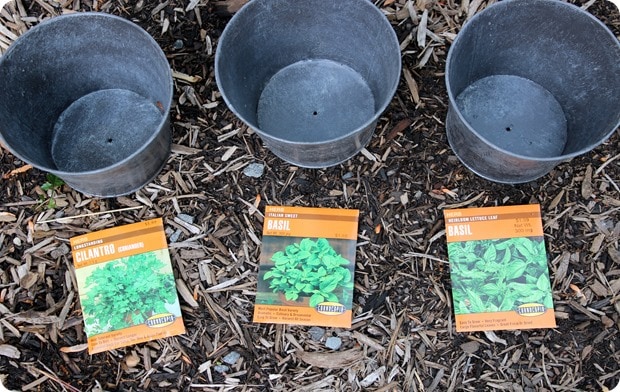
This year, we’re keeping it simple: in addition to our old friend basil, we also decided to give cilantro a shot, as that’s our other favorite herb to cook with. 🙂
Miss Zara was VERY intrigued by the whole thing…
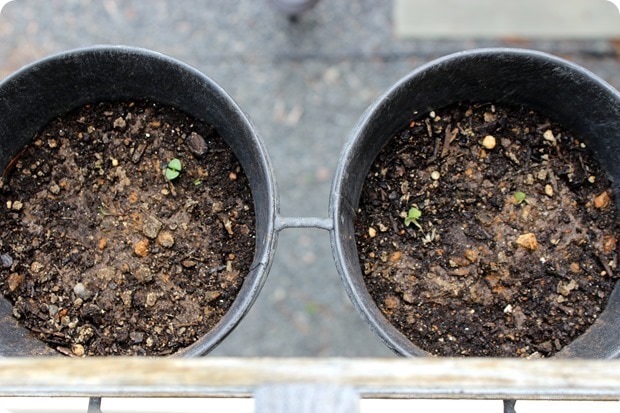
Since we just planted them a few weeks ago, I don’t have a full update yet on how successful we were, but we already have some little buds peeking out of the soil which is a good sign! 🙂 Basil likes hot weather and full sun, so that’s in our favor.
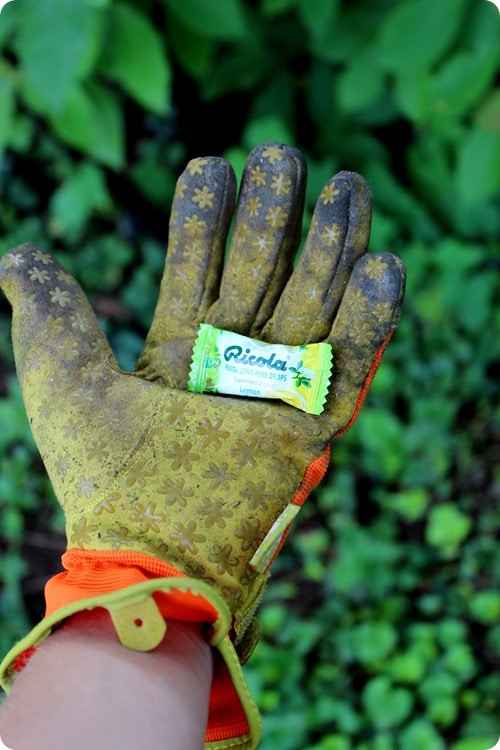
Also in our favor: when I was writing my Ricola partnership post in April about Herbs That Help with Spring Allergies, I discovered that Ricola has a ton of helpful herb garden growing and preserving tips on their website. Ricola was actually helpful in two ways during this process: first, the tips on their website (which I’ll share some of below), and second, to help mitigate the allergy situation that arose when out planting! As I mentioned in April’s post, I don’t often get allergies, but I definitely noticed feeling stuffy and having an itchy throat when we were out in the dirt for a big part of the day. (We did some weeding the same day we did the herbs!) Ricola to the rescue!
Anyway! Here are some of Ricola’s best tips for starting an herb garden, since I thought you guys would find them interesting/helpful, too!
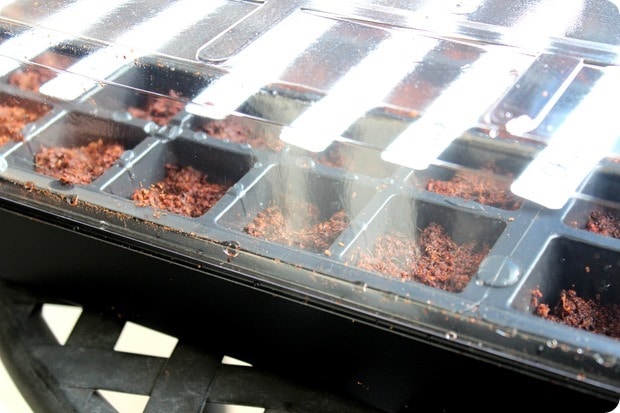
- If starting from seed, consider planting the seeds first in trays covered with plastic or transparent foil to create a sort of mini-greenhouse. Just be sure to put the tray where it will get a lot of sun. We have done this in the past, but didn’t do it this time around because we were a bit late planting them this year and knew they would get enough heat/sun outside. (It’s recommended to do the seed tray method if you’re planting before the final frost – by late May/June, it’s generally warm enough outside to just start out there, and you can cover your boxes with plastic wrap to make sure they stay warm enough.)
- Speaking of sun: herbs are generally sun-loving plants. Try to plant them in an unshaded spot that gets about five to six hours of direct sunlight every day.
- Water regularly – ideally, every day, but take care to avoid overwatering, as this damages the roots. If the soil feels dry when you stick your finger in, it’s time to water.
- Peppermint, sage, and thyme are very hard to grow yourself, so don’t try starting them from seed: buy them already grown and replant them at home. Also, thyme and sage prefer soils that are naturally low in nutrients – plant them in a mixture of three parts soil to one part sand.
- Harvest most herbs before or during the flowering period, as some herbs lose their aromatic qualities after flowering or the stems become hard and inedible.
- For basil, pinch off the flowers (we had to do this a lot with our basil last year) that will form in mid summer to promote further growth.
Have a ton of herbs and want to preserve some for later? Ricola had some great tips for that, too. Depending how well our basil in particular grows this year I’m going to try to preserve some!
Freezing: thyme, parsley and chives do particularly well with being frozen.
- Cut the plants, wash carefully and shake dry on a kitchen towel. Remove any damaged parts and finely chop the herbs.
- Fill plastic freezer bags or containers with small portions of the herbs. This prevents all the herbs from defrosting upon use.
- Or, divide portions of the herbs into ice trays, pour water over them, and freeze. This is a great method if you want to use the herbs in winter soups!
Drying: all herbs can be dried.
- Cut the plants, wash carefully and remove any damaged parts. Place the herbs on a kitchen towel or hang them and leave to dry in a warm, well-ventilated place.
- Turn the herbs at least once daily. When you can crush the herbs, they are properly dried. Use a dark, airtight container for storage.
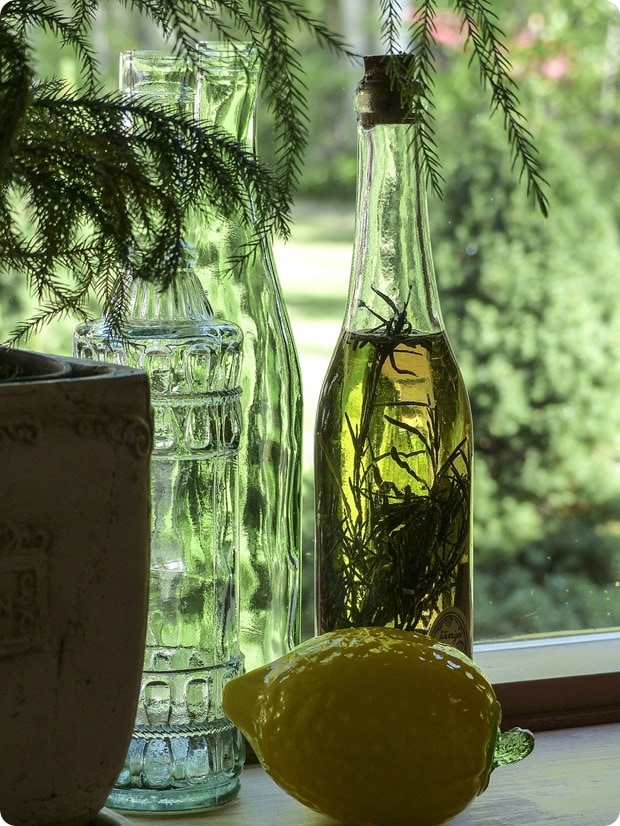
Infusion in Oil: all common kitchen herbs work well with this method. Think: sage, rosemary, thyme, basil, oregano, etc.
- Choose a high quality oil with a neutral flavor such as olive, sunflower, or rapeseed oil.
- Wash the fresh herbs, remove any marks and dry thoroughly by leaving them out in the sun for several hours. Be sure no wet spots remain – the herbs should be fully dry to avoid formation of mold.
- Fill the herbs into clean, dry and preferably dark glass bottles. Cover the herbs with the oil and seal tightly.
- Leave to infuse in a cool, dark place for approximately 3–4 weeks. Then strain the herb oil through a fine sieve and transfer to fresh clean bottles.
- Remember to write the date on the bottle and consume the oil within 3–4 months. If the herbs are left for too long, the oil may become cloudy.
- I absolutely LOVE herb-infused oils, so I’m going to try those tips, too!
What are your best herb growing tips?
What’s your favorite herb?
Check out Ricola on social media!
Facebook: facebook.com/Ricola & Twitter: @RicolaUSA


