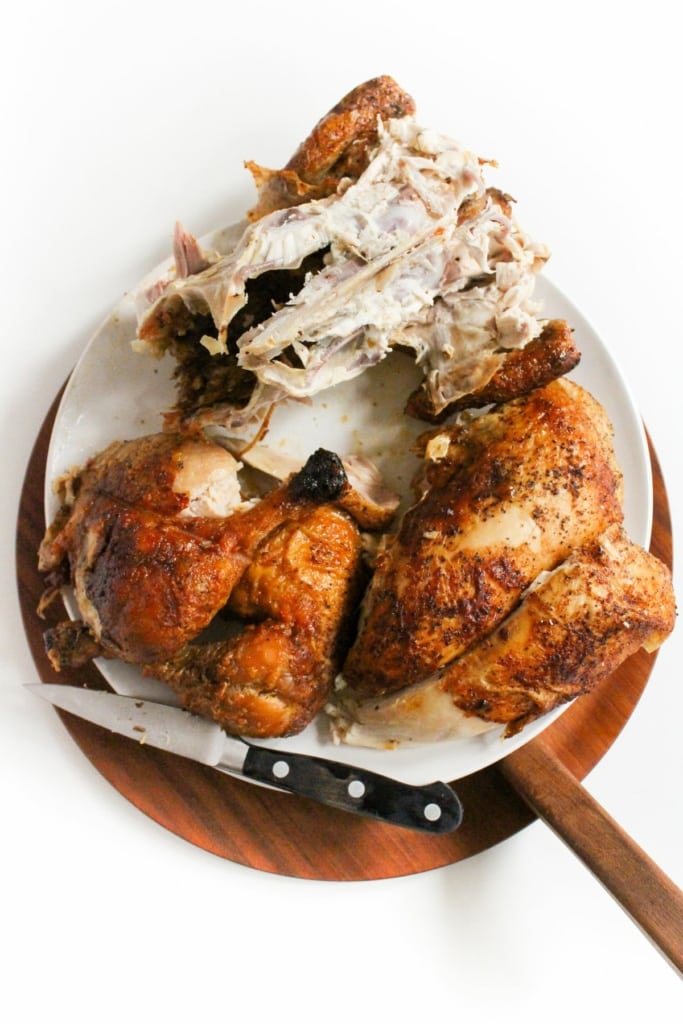
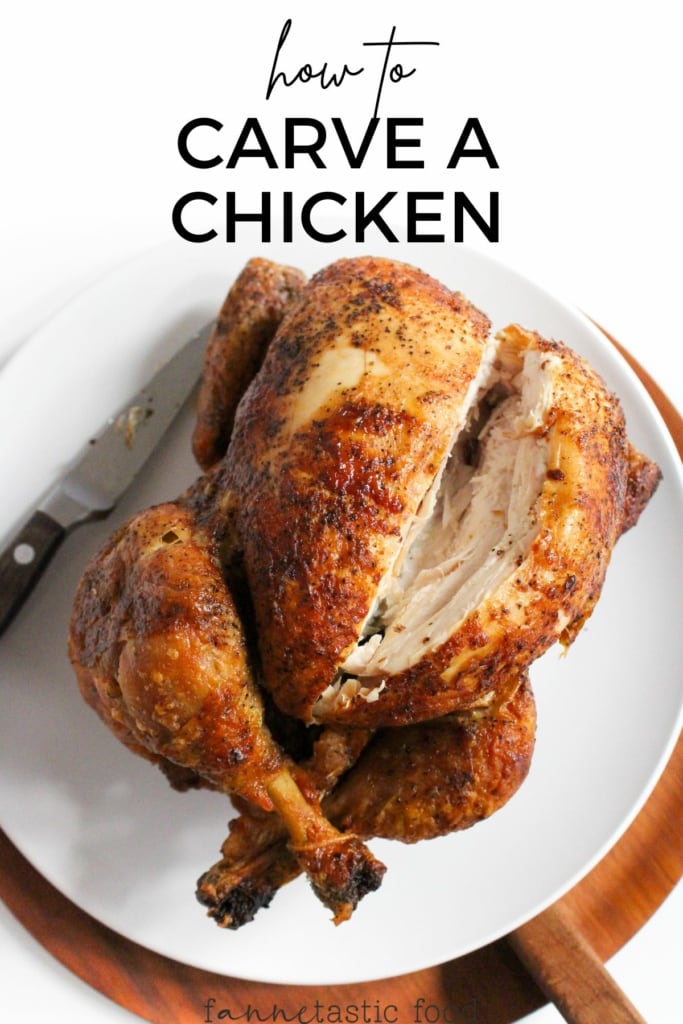
Based on how many chicken recipes I have on my site, it should come as no surprise that I love using rotisserie chicken to save time when making healthy meals. So I wanted to share a guide on how to carve a chicken (whether you cooked it yourself, or bought it from the store pre-cooked)!
I’ll walk you through step-by-step instructions on how to break down a rotisserie chicken into pieces, plus a tip on how to easily shred the chicken (if desired).
Want to save this post?
Enter your email below and get it sent straight to your inbox. Plus, I'll send you great content every week!
This process covers both home-cooked roasted chicken and store bought rotisserie chicken. They’re very similar, and therefore have the same breakdown process!
What is rotisserie chicken?
Rotisserie chicken is oven-baked, but at a slower temperature for longer (compared to how you’d typically oven-roast chicken at home).
The chicken is attached to a spit (like a large skewer or multiple skewers) that rotates so the chicken is cooked evenly.
This method brings out deeper flavors and makes the chicken extra tender. It also ensures that the skin is roasted to golden-brown, flavorful perfection.
Buying rotisserie chicken at the store is a huge time-saver for getting nutritious meals on the table during a busy week. (Check out my post on 11 things to do with rotisserie chicken for some inspiration!)
Equipment You’ll Need for Carving a Chicken
Fortunately, you don’t need any fancy equipment to cut a whole chicken! You only really need a long, sharp knife (carving knife), and two forks to shred the chicken. That’s it!
A carving fork (or any large fork) can be used to help stabilize the chicken while you slice it.
If you have an electric knife, that can also be helpful when breaking down the cooked chicken, as it can make slicing easier. But it definitely isn’t necessary!
Steps to Carve a Whole Chicken
Next, I’ll walk you through how to break down a whole chicken, step-by-step. I promise it’s simple!
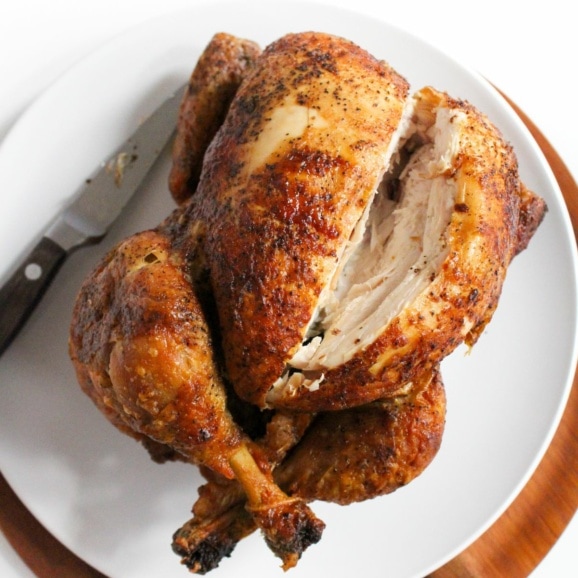
Step 1: Cut Down the Center
Start by placing the cooked chicken on a cutting board or large plate. It should be facing breast-side up.
Make a light cut with your knife down the center of the breast to find the breast bone.
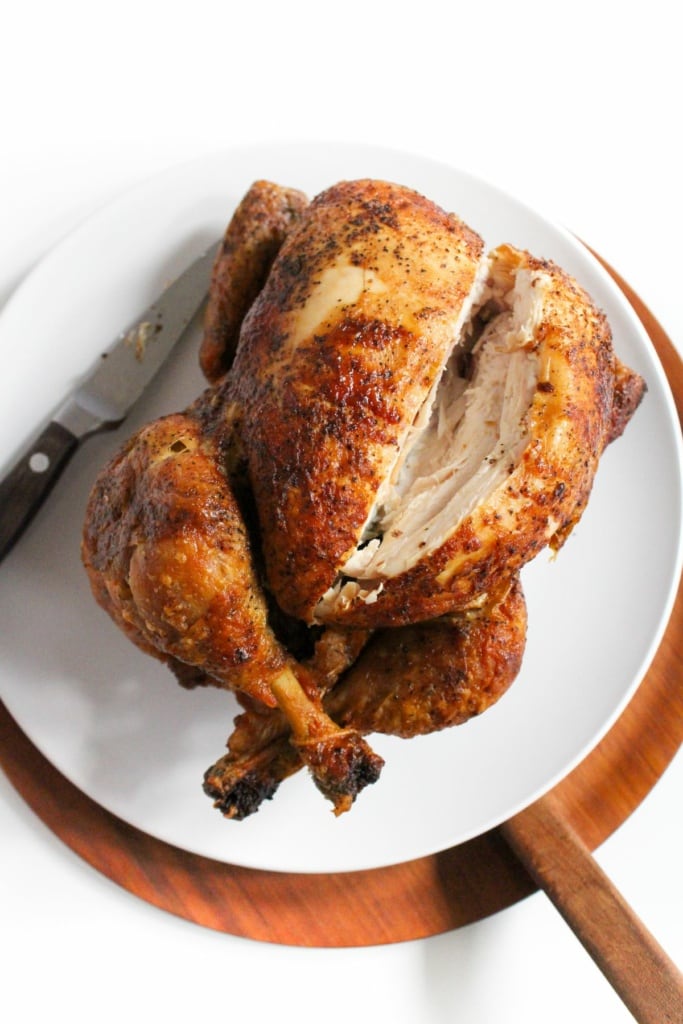
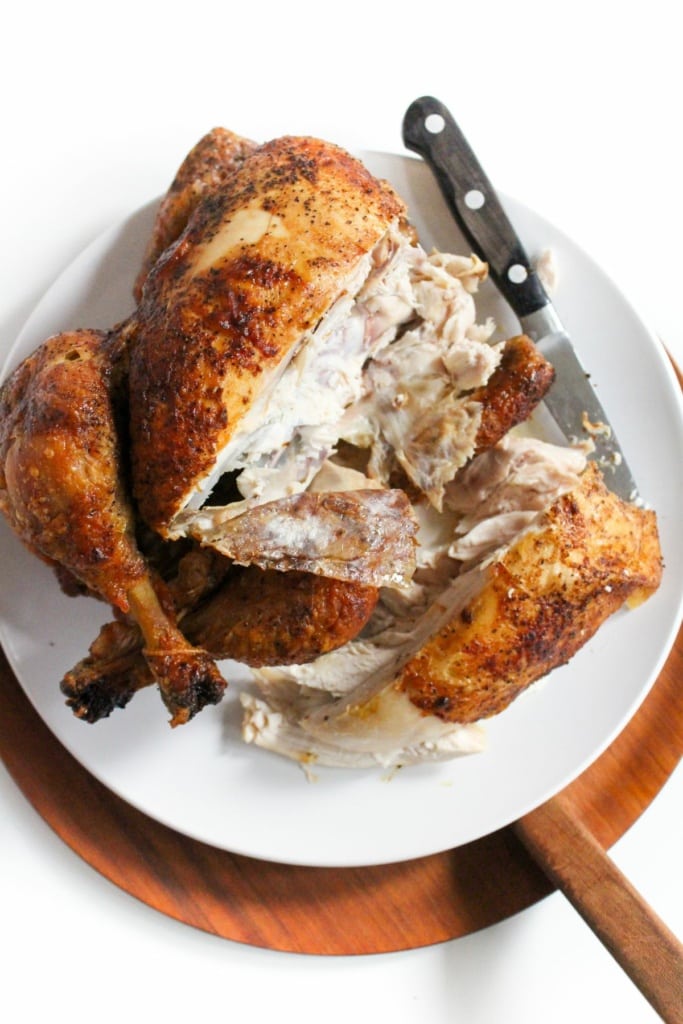
Step 2: Remove Chicken Breasts
Next, make deep, vertical cuts along the breast meat on both sides of the breast bone. Then, use your hands to peel away each whole chicken breast. Set aside.
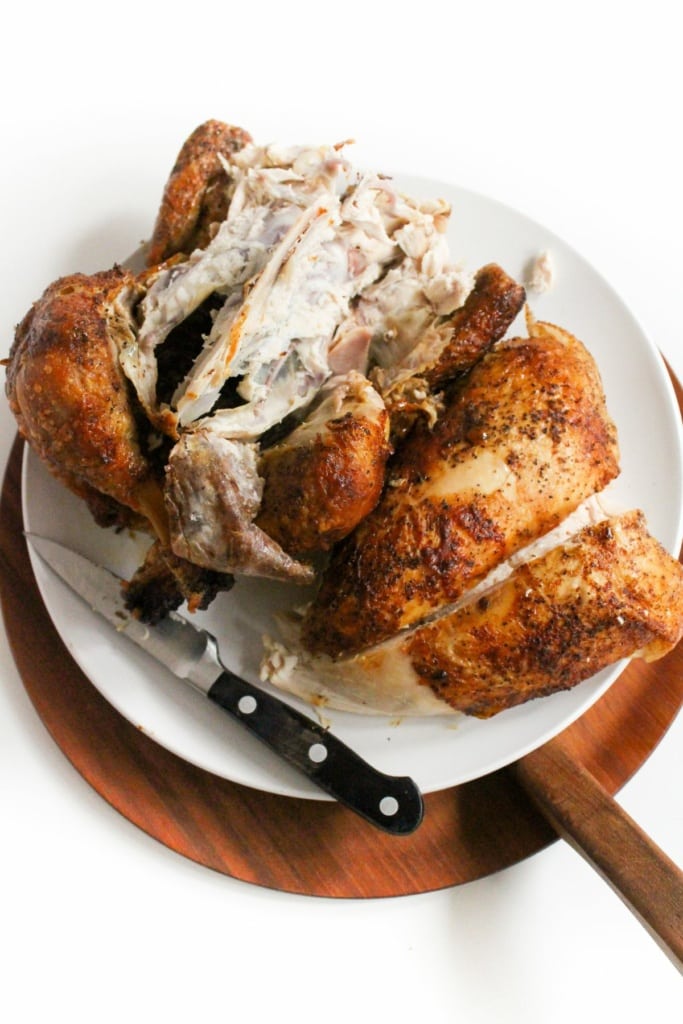
Step 3: Remove Thighs & Drumsticks
Grab onto each leg bone and bend each thigh backwards at the joint to remove the thighs and drumsticks from the carcass.
If you’re having trouble seeing where the joint meets (or separating the joint), make another cut just above where the thighs meet the body and towards the joint.
If desired, use your knife to separate the drumsticks from the thighs.
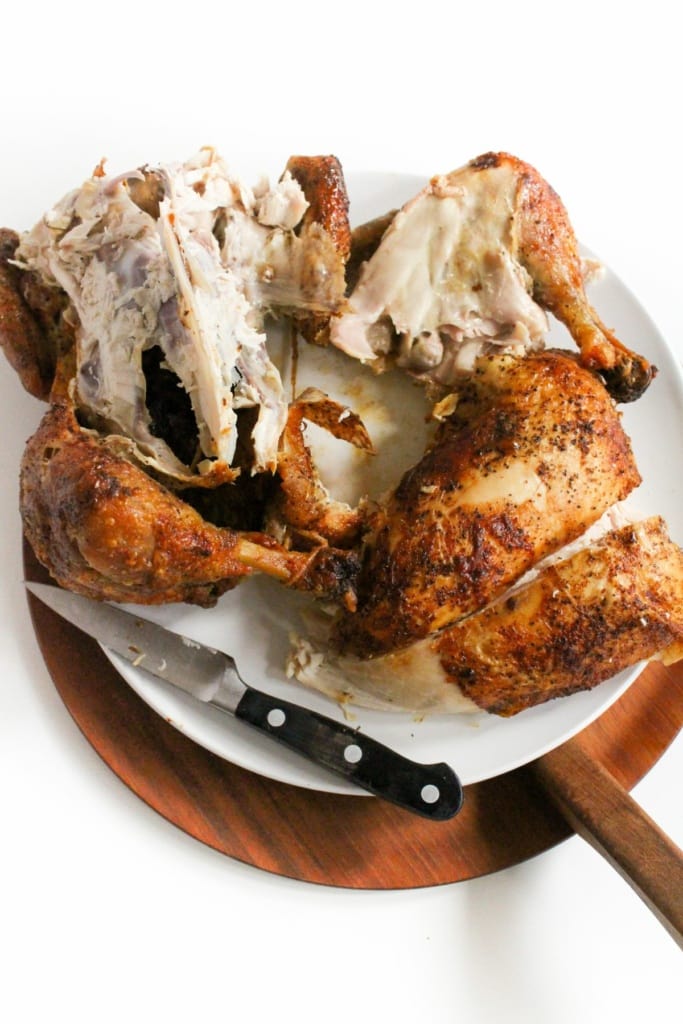
Step 4: Remove the Wings
Lastly, pull the wings away from the remaining body of the bird. Use your knife to separate them at the joint.
If you want to eat the chicken in pieces (rather than shredding), leave the pieces as is, or cut into smaller slices as desired. Otherwise, continue to the next section for how to shred the chicken!
How to Shred Rotisserie Chicken (or Roasted Chicken)
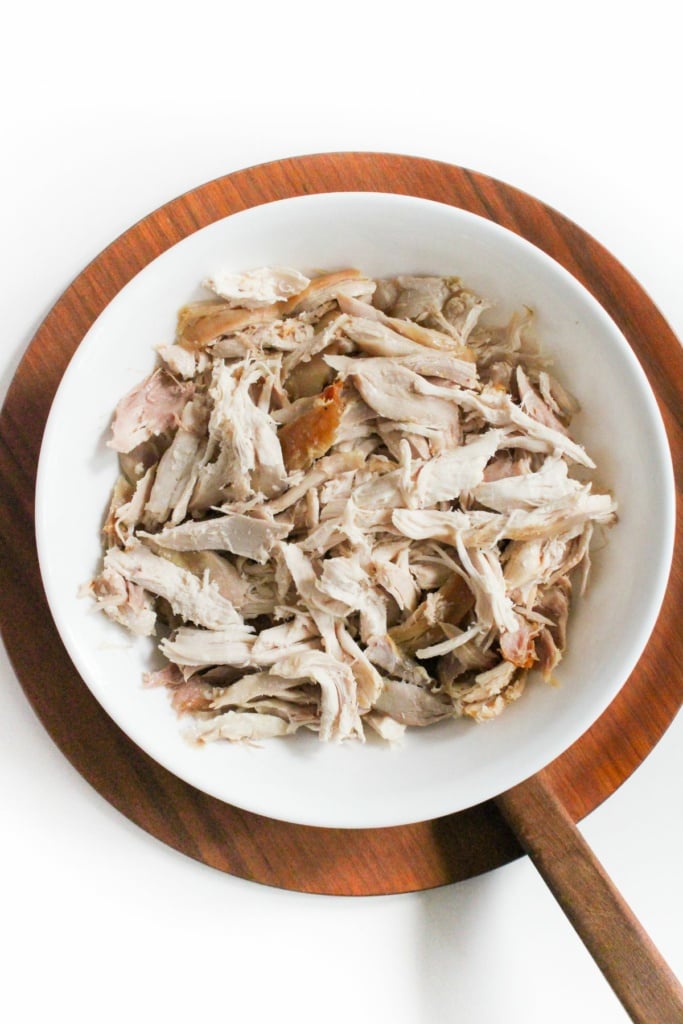
To shred the chicken, first remove the bones from the thighs and drumsticks. Using two forks, shred the chicken breast, thigh, and drumstick meat.
It works best to almost interlock the forks as you pierce the meat, then pull them away from each other at the same time.
Rotisserie Chicken Recipe Ideas
There are endless meals you can make with cooked and/or shredded chicken, such as chicken salad, wraps/sandwiches, stir fries, burritos, salads, and more!
Here are some delicious shredded chicken recipes to try:
- BBQ Chicken Sliders with Coleslaw
- Pulled Chicken Banh Mi Sandwich
- Thai Chicken Coconut Soup
- Healthy Chicken Enchiladas (+ Gluten Free Option)
- Chicken White Bean Chili
- Healthy Chicken Broccoli Rice Casserole
- Mediterranean Stuffed Peppers with Chicken
- Shredded Chicken Lettuce Wraps with Peanut Sauce

How long should a chicken rest before carving?
If you’re cooking a whole chicken at home before carving it, it’s best to let it rest for 15 minutes before you cut into it.
This allows the juices to settle, so they don’t all run out once you slice into the chicken. Nobody wants to eat dry chicken!
If using a rotisserie chicken or pre-cooked chicken, there’s no need to let it rest.
Now that you know exactly how to carve a chicken, you can be sure you’re using all the meat (instead of leaving some on the bones to go to waste!).
Of course, once you remove the meat, you can use the remaining carcass to make chicken stock. So really, none of it needs to go to waste. 🙂
I hope this guide has simplified the chicken-carving process for you!
Do you have a favorite recipe that uses cooked/rotisserie chicken? Let me know in the comments!
Looking for more chicken recipes? Check these out:


