Last week at my dietetic internship, we learned how to can our own food at home — specifically salsa and blueberry jam!
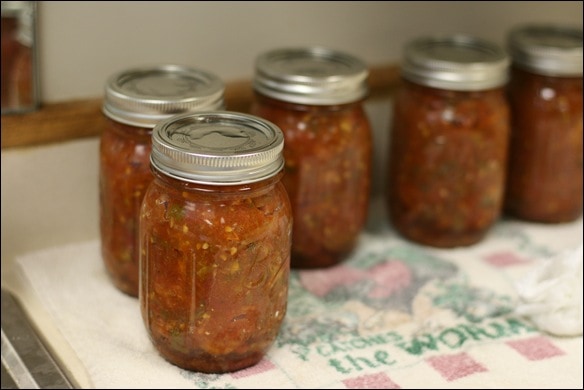
We’re teaching a series of canning classes in the next couple weeks and my co-intern Diana and I will be taking the lead in teaching them. This meant we got to spend a day last week practicing (aka playing) in the kitchen at work!
If you’re going to can at home, you need to do some research first to make sure you’re doing it safely. This is one time when it’s NOT okay to tweak recipes! 🙂
There are two methods of canning:
- Pressure canning — Used to preserve low-acid foods, like vegetables, meats, poultry and seafood. In this method, your jars of food are placed in 2 to 3 inches of water in a special pressure cooker which is heated to a temperature of at least 240° F. The higher temperature is to kill any possible Clostridium botulinum spores!
- Boiling water bath canning — Used to preserve high-acid foods, like tomatoes, fruits, jams, jellies, and pickles. In this method, your jars of food are placed in a regular large pot, completely covered with boiling water (212°F at sea level), and cooked for a specified amount of time.
We’ve canned green beans at work using a pressure canner before, but last week’s adventure featured high-acid foods, so we were able to use a regular boiling water bath canning process 🙂
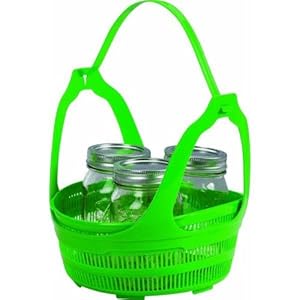
To get started with boiling water bath canning at home, you can use a large pot you already have, but you’ll want to buy an at-home canning kit. It will include jars, lids/rings, and some variation of the green rack you see in the photo below to lower the jars into the water on. You never want the jars directly on the bottom of your pot because the water needs to circulate! Ball has some great and inexpensive kits.
You’ll also want to buy a small accessory kit (if the accessories aren’t included in the main kit you buy).
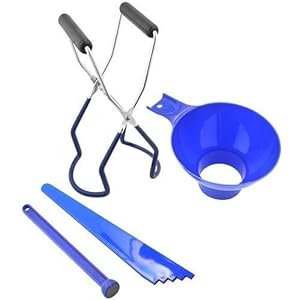
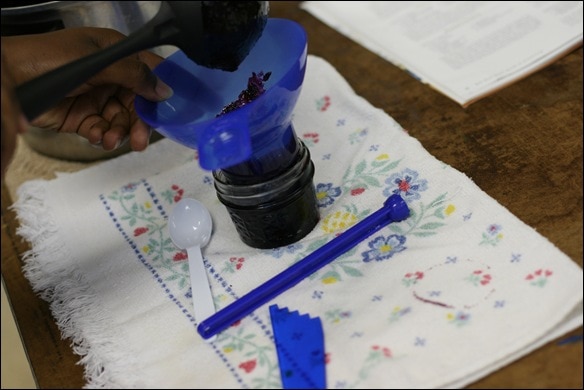
Accessories that you’ll need for canning are (pictured above) — a jar funnel, a jar lifter (so you don’t burn yourself), a lid lifter (that wand looking thing with a magnet on the end — genius), and a bubble remover and “headspace” measure tool (it has to be exact — this way you can measure!).
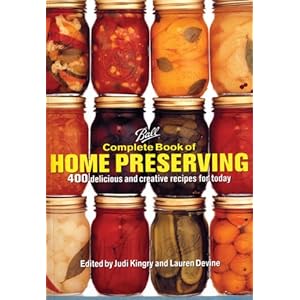
Buying an at-home canning book is a good idea, too, for recipe purposes. You really want to make sure the recipes you use are safe and tested!
And now — on to the good stuff 🙂
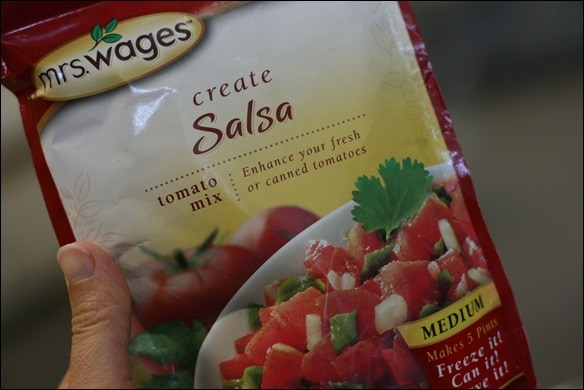
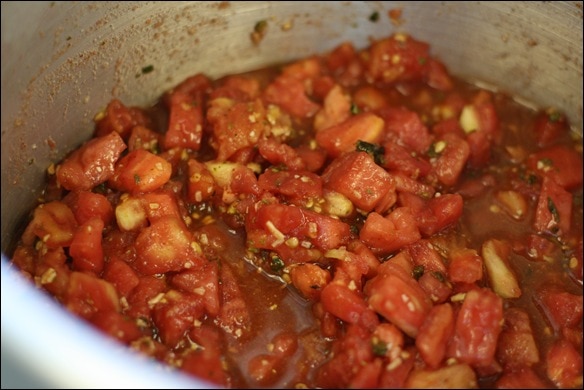
First, we made our own salsa! Since it was a test run to get the procedure down and we didn’t have a ton of time, we used a packaged seasoning mix — but during the class we’ll be doing it all from scratch, don’t you worry.
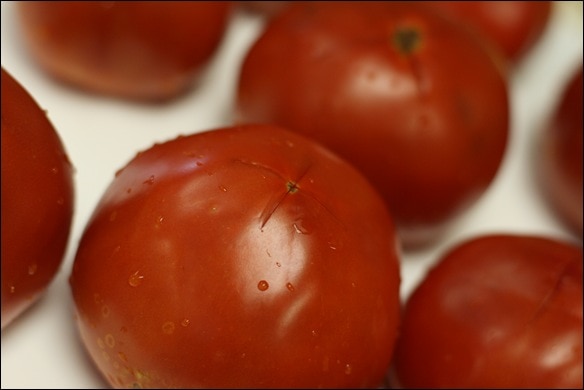
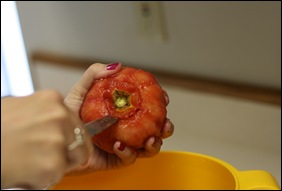
Did you know tomatoes are really easy to peel if you slice a little X in the end of them…
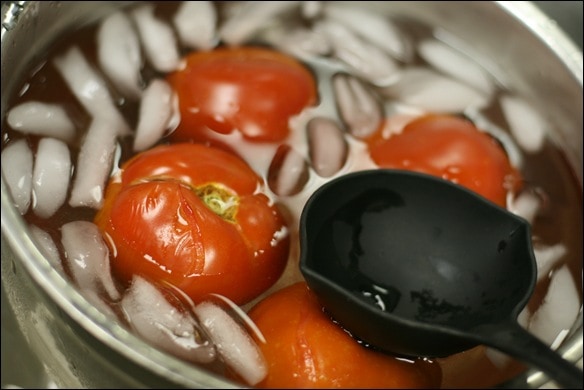
…and then blanch them by putting them in boiling water for a minute and immediately removing them to ice water?
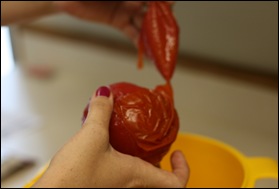
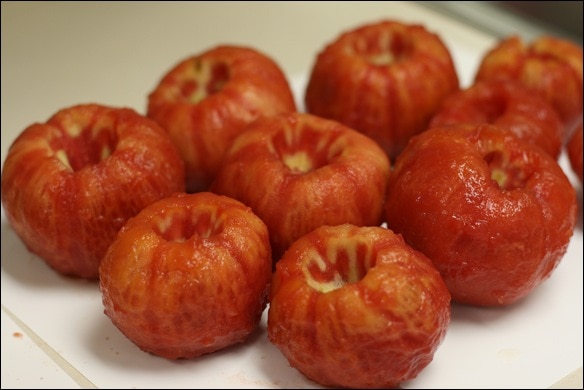
I didn’t know that! It made peeling them no problem.
Chopped up…
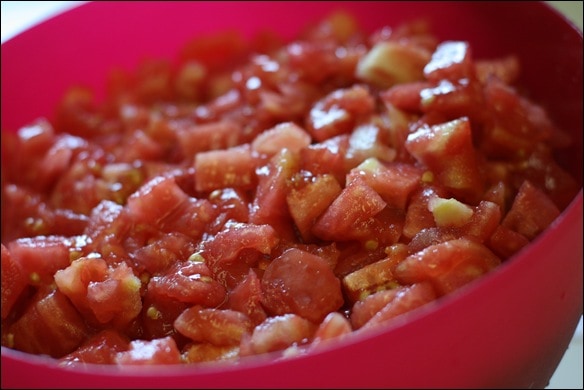
And all ready to go!
Once our salsa was ready, it was time to can it!
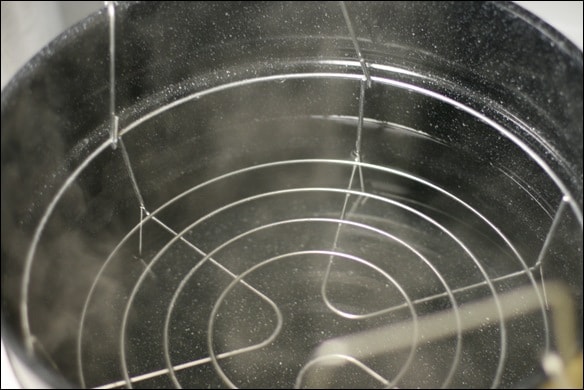
To do a boiling water canning, you need to have your pot of boiling water ready to go before you start preparing your jars. Your rack (like the green one I posted above, or the silver one below) should already be in the water, too, in the lifted position.
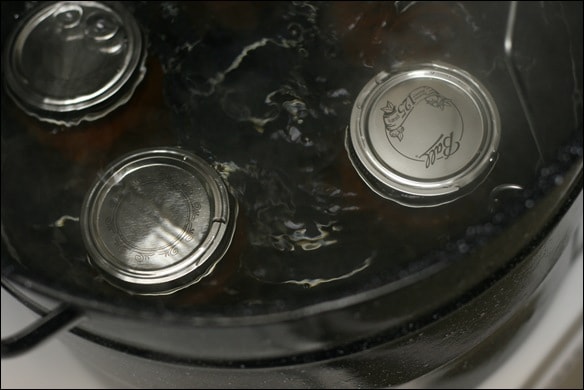
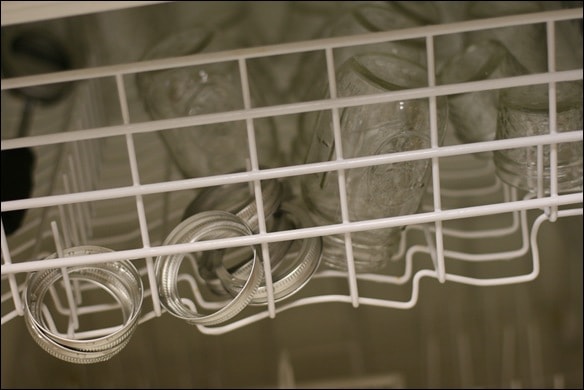
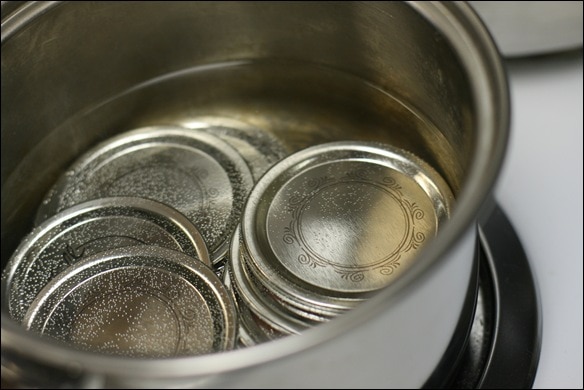
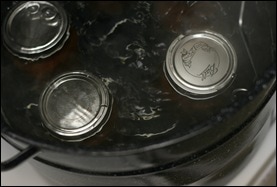
You’ll also want your lids and jars sterilized — you can leave the jars and ring lids in the dishwasher on steam dry until you are ready, and your flat lids can go into a hot pan of water.
There will be more details on this specific process in a canning book/recipe — don’t worry 🙂
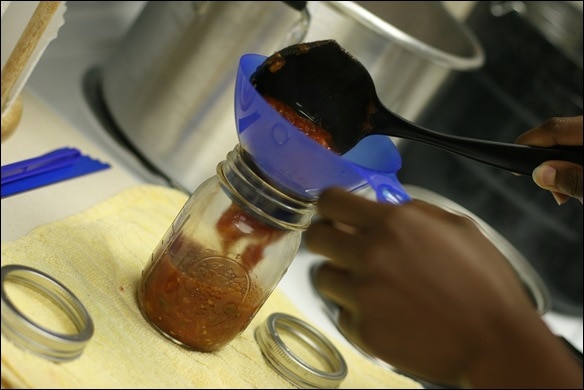
So now we are ready to fill our jars! I recommend using a funnel to make it easier:
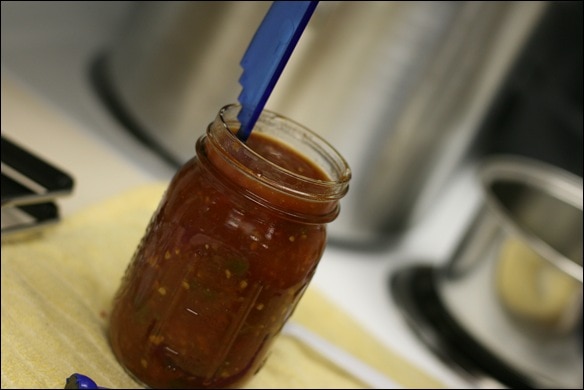
Once your jar is filled, you check the amount of “headspace” (space in the top of the jar) to make sure it’s correct (the recipe will say how much you need). This gadget that comes with the canning kit is used to measure headspace (and can be used to get rid of air bubbles, too):
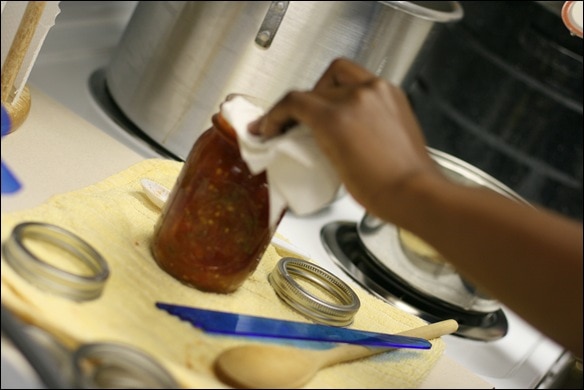
Then, wipe the lid clean to make sure nothing will be in the way of creating a seal:
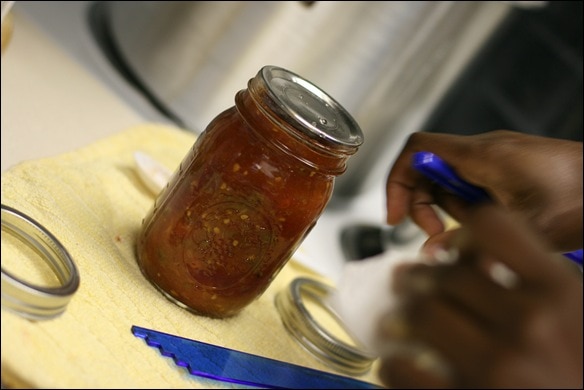
Grab your lid wand and put the lid on top…
And screw the ring on — just not too tight!
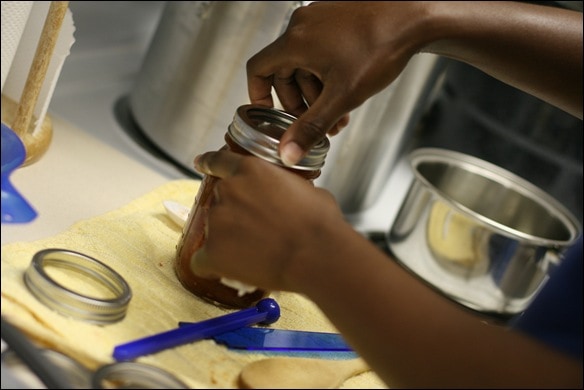
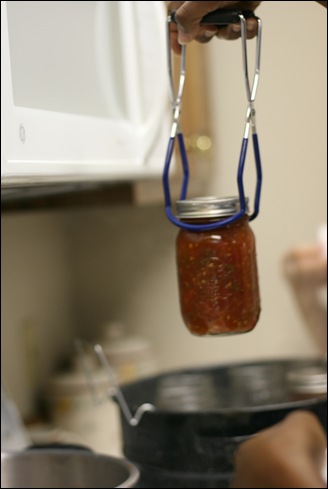
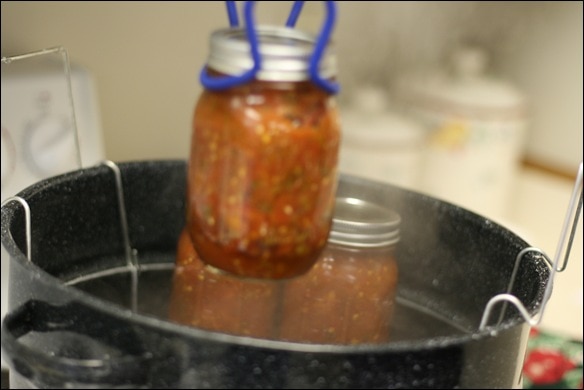
After each jar is finished, it gets lifted into our pot:
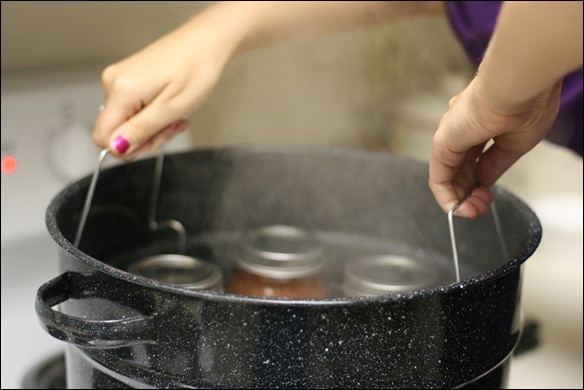
And when all the jars are in (make sure they aren’t touching each other)…
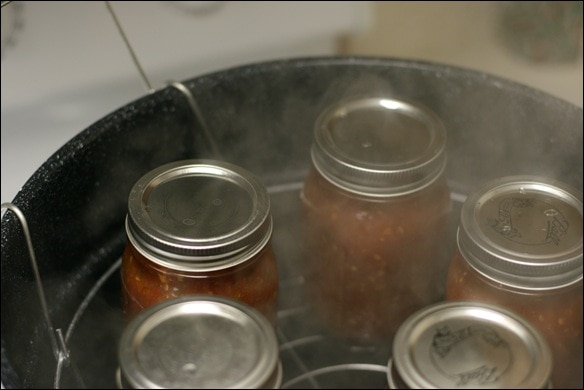
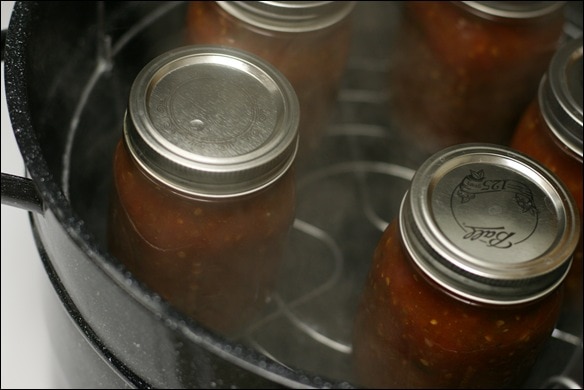
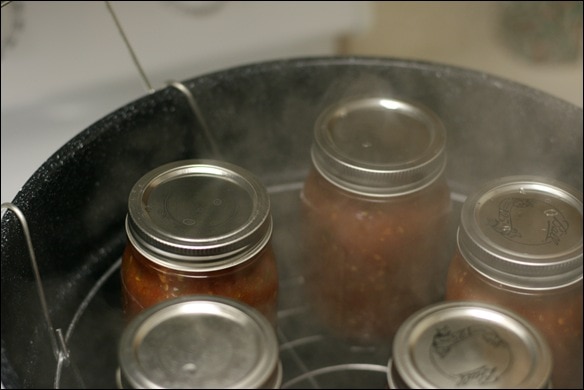
…you lower them into the water and heat for however long the recipe says.
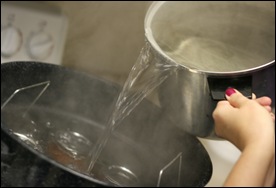
The boiling water should cover the lids — more might need to be added!
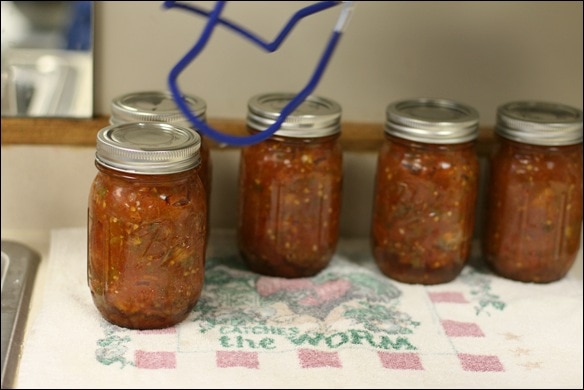
When the allotted time has passed, lift out your jars. You might hear some of the lids popping as they seal!
The jars will need to sit still, untouched, for awhile (the recipe will say) until fully cooled. We left ours overnight.
Once our salsa was done, we repeated a similar process for the blueberries to make jam.
Just mash them up (arm workout, holla):
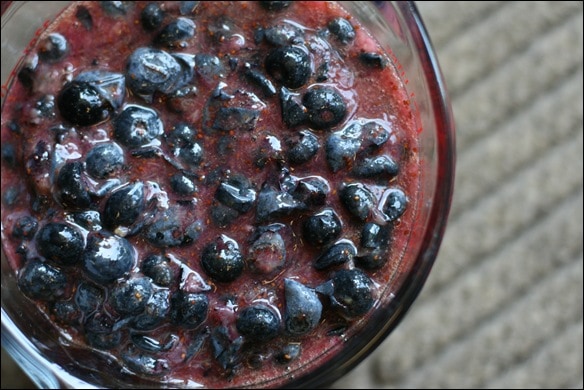
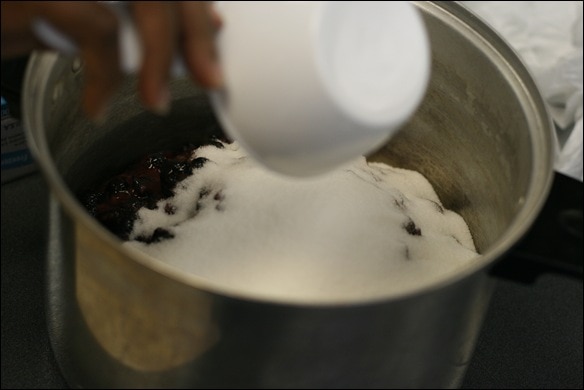
Add a whole lot of sugar, depending on the recipe (next time we want to try a lower sugar version!):
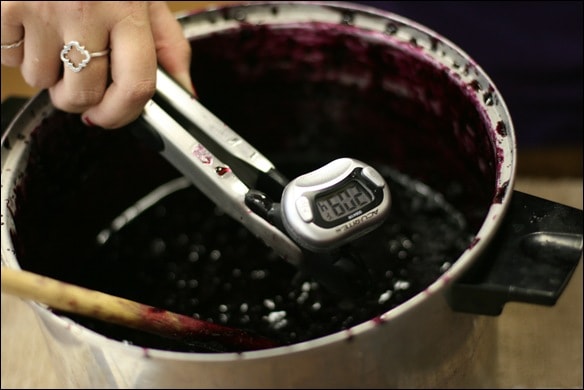
And heat until it starts to gel:
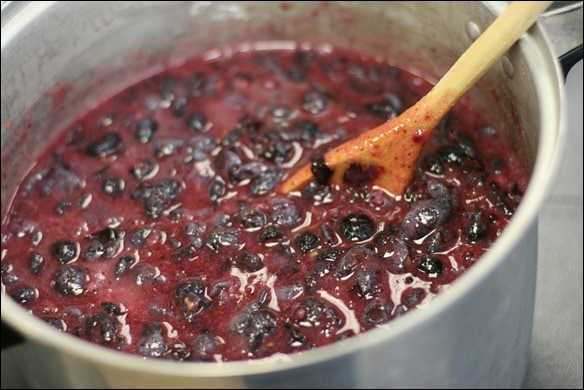
Then can the same way, following the recipe instructions!
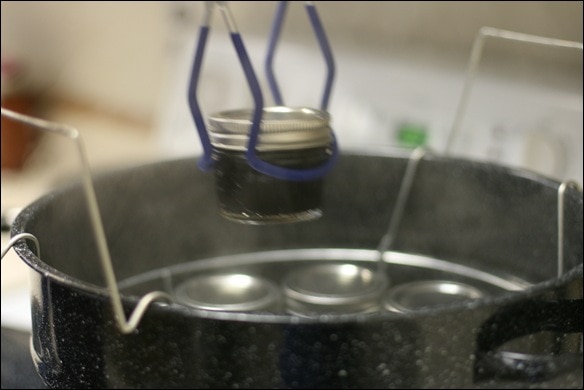
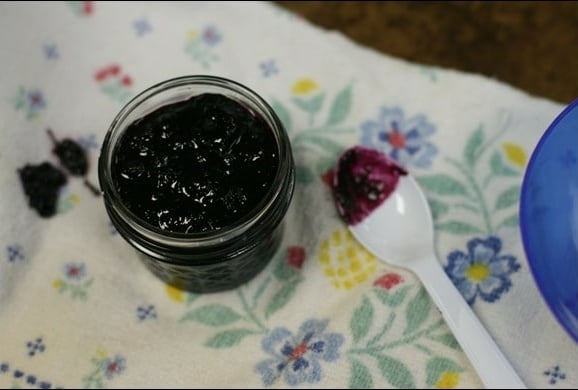
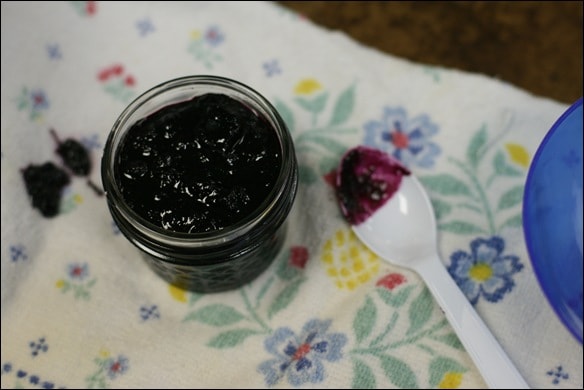
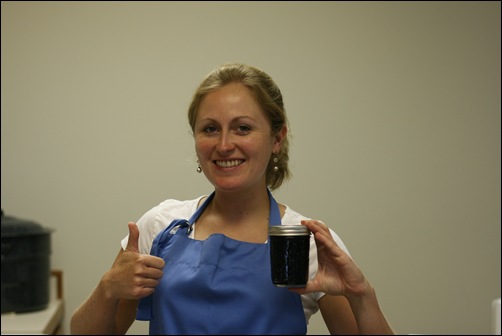
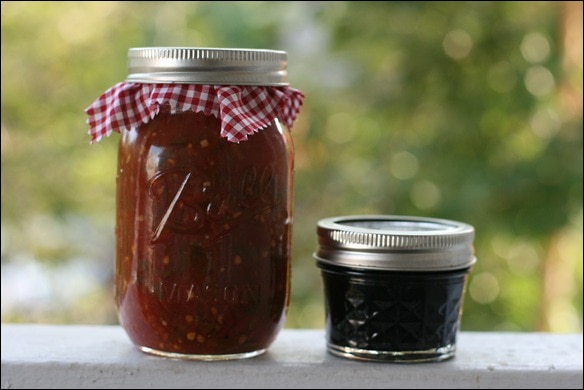
Canning success 🙂
I’ve already been enjoying the blueberry jam this week and can’t wait to bust out the salsa, too! 🙂
We’re teaching 4 hands-on canning classes to adults this summer (and 1 more to kids, too!) — first up is green beans, then salsa, pickling, and jams. It should be fun — I love that I learned something so useful at my internship this summer! Can you believe I only have 2 weeks left of my public health dietetic summer internship?! It has gone by so fast!
Have you ever canned anything at home before? If not, do you think you’ll try? I was totally intimidated by it (and it probably seems super intense from this post) — but it’s really rather easy, if a little time consuming, once you learn how!
Disclaimer — please read a canning instructional guide/book before trying this at home yourself — don’t just rely on this post 🙂 Have fun!


